
Use the Calendar
The Calendar view shows your dated work items laid out on a calendar. It’s a great way to spot scheduling conflicts and see what’s coming up.
Opening the calendar
Section titled “Opening the calendar”In the sidebar, click Calendar under the Work section.
Choosing a view
Section titled “Choosing a view”Use the view controls at the top of the calendar to switch between:
- Month — a full-month grid
- Week — a seven-day view
- Day — a single day in detail
Navigating dates
Section titled “Navigating dates”- Use the left and right arrow buttons to move backward and forward in time.
- Click Today (if available) to jump back to the current date.
Logging time or adding a meeting
Section titled “Logging time or adding a meeting”- In the Week or Day view, press on the time you started and drag down to the time you finished. The rows move in 15-minute steps. To pick one hour, just click the start time.
- Let go, then choose Log Time or New Project Meeting from the menu that appears.
- The form opens with the date, start time, and end time already filled in. Adjust anything you need and save.
You can also click Create at the top of the page to start from the current time. The Week and Day views show 4:00 AM to 9:00 PM; use the Month view to see anything outside those hours.
Viewing an item
Section titled “Viewing an item”Click a meeting or milestone to open its full detail page. Clicking your logged time opens it in the Log Time window instead, so you can see and edit it. Time that’s already been billed on an invoice opens a summary you can look at but not change.
What appears on the calendar
Section titled “What appears on the calendar”Items with dates attached — such as tasks with due dates and project meetings — appear on the calendar on the relevant date. The exact item types depend on your firm’s setup.
Hiding item types
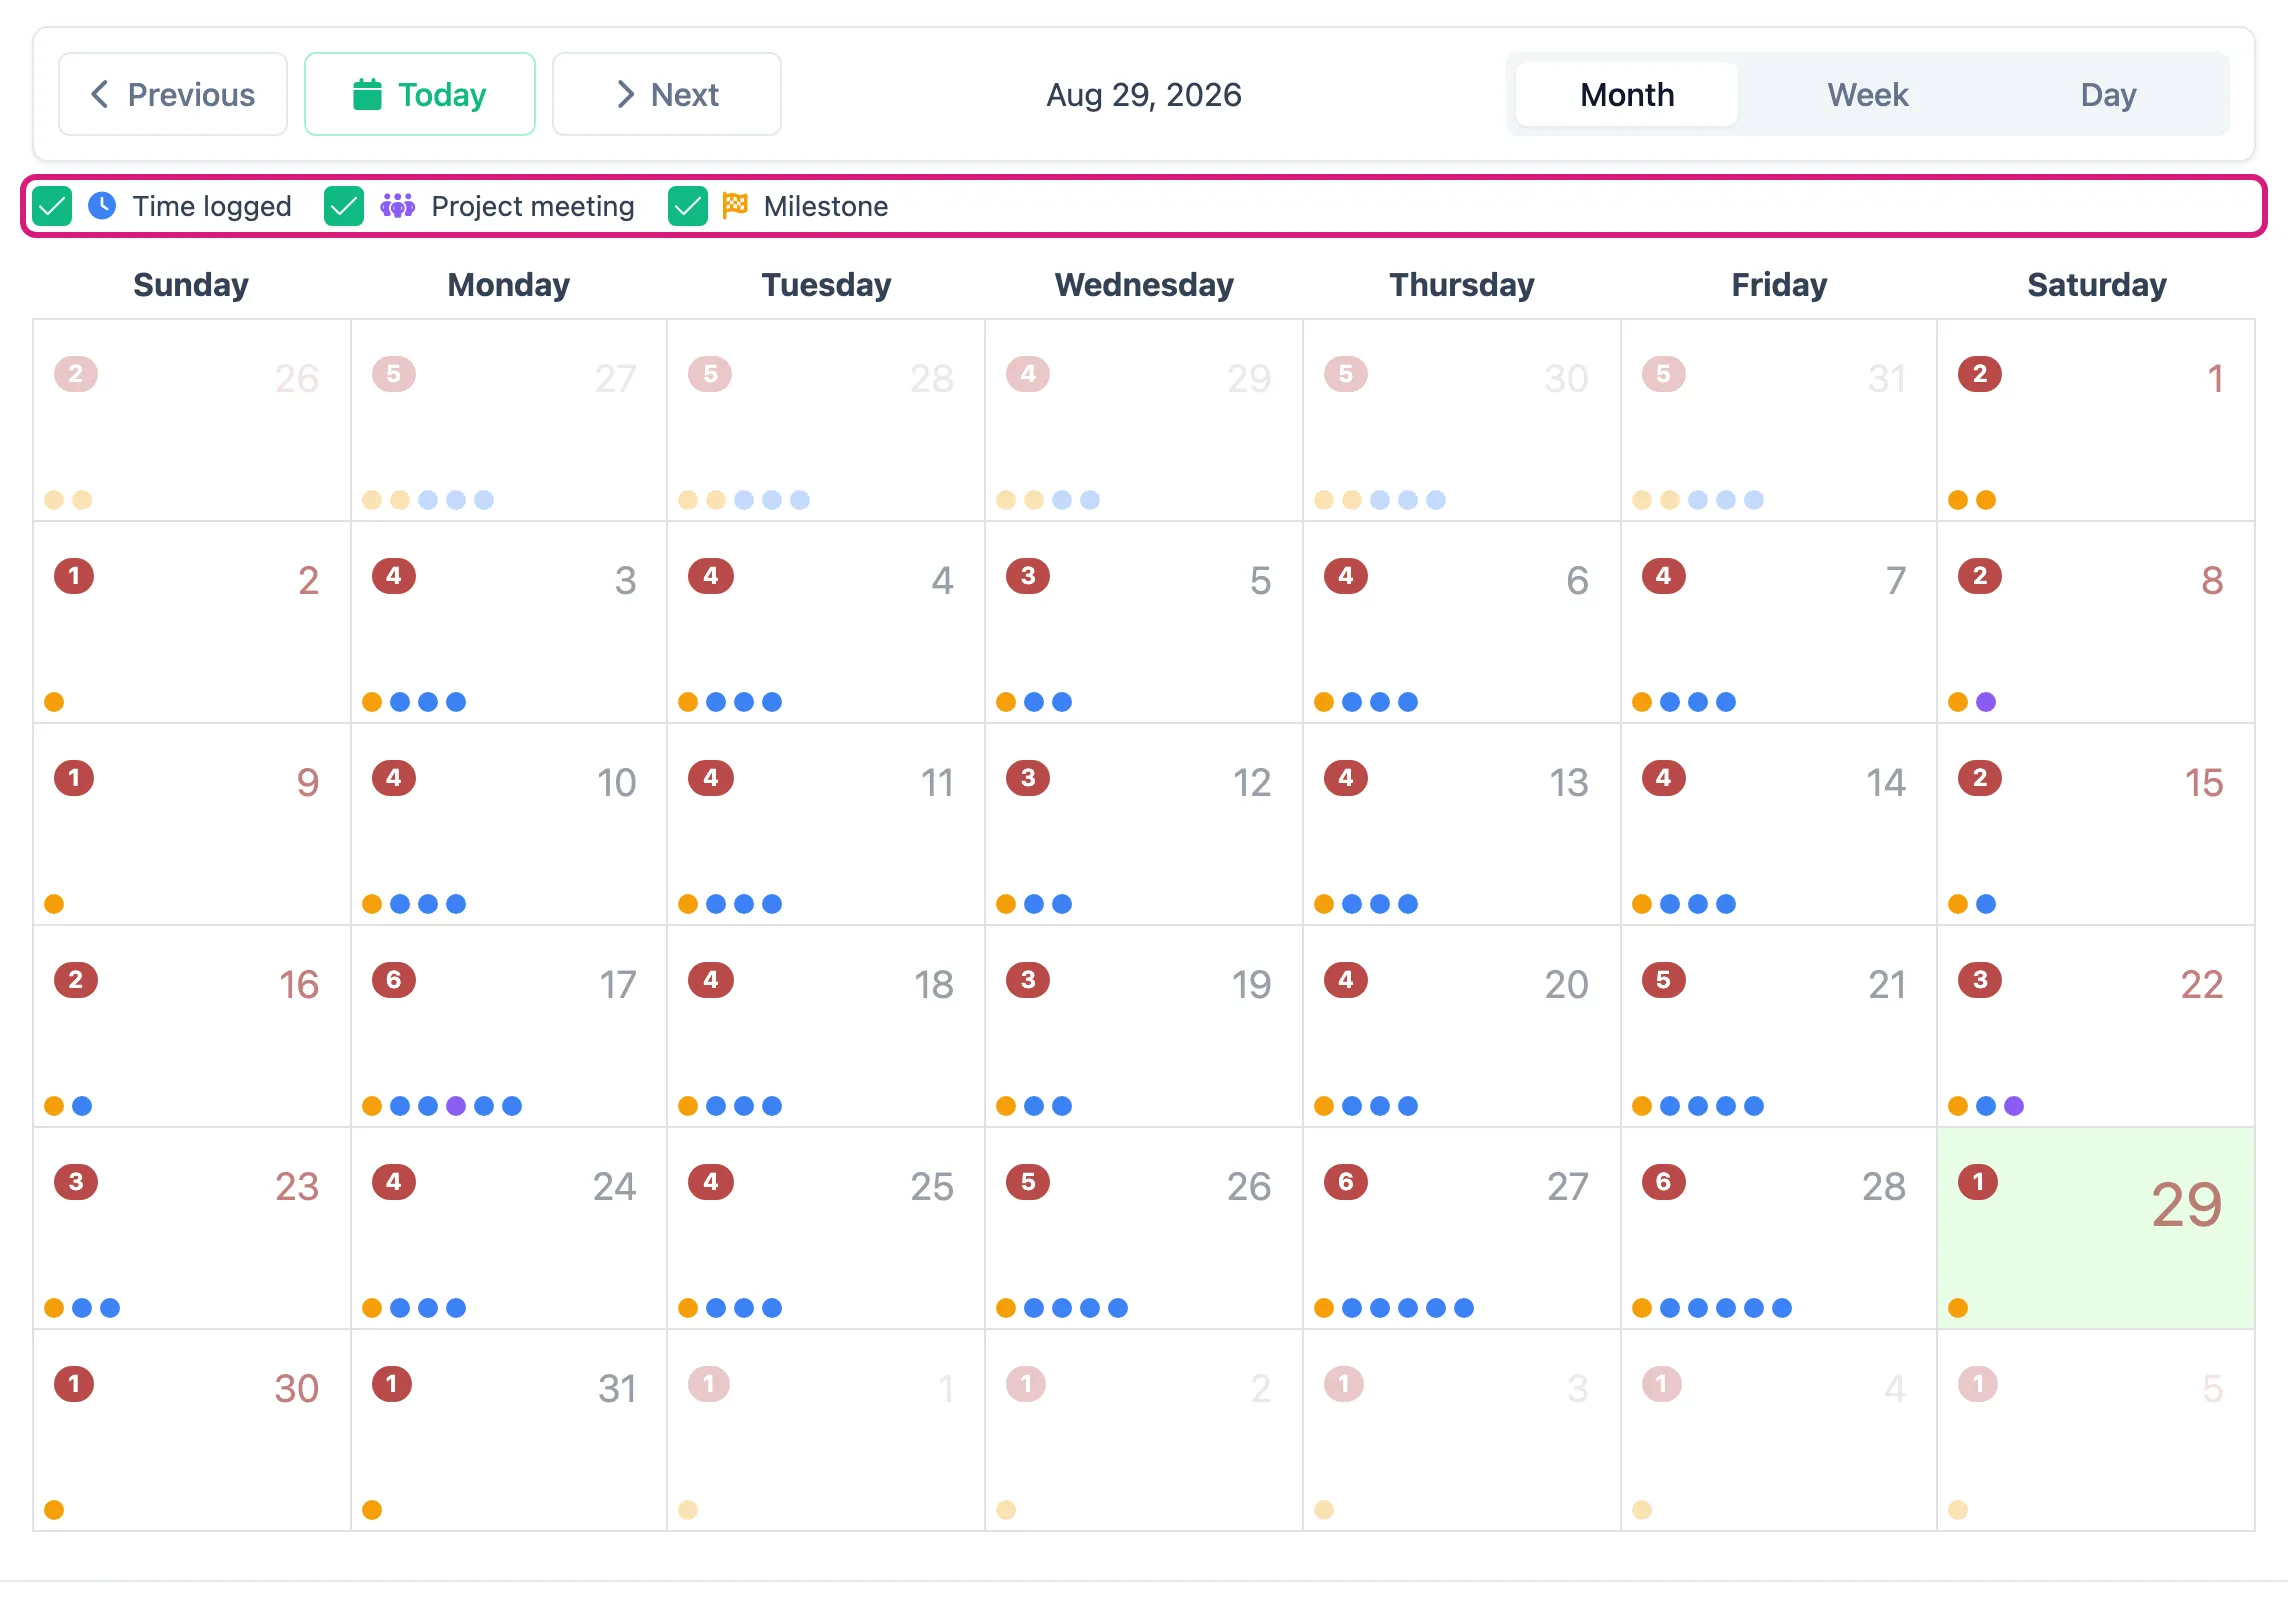
Section titled “Hiding item types”The color key above the calendar has a checkbox in front of each item type — Task activity, Project meeting, and Milestone. Uncheck a type to hide it when the calendar feels crowded, and check it again to show it. Your choice is remembered for your next visit.
Subscribe from Google, Outlook or Apple Calendar
Section titled “Subscribe from Google, Outlook or Apple Calendar”You can see your AECPulse calendar alongside your other appointments. It shows your logged time, project meetings and milestones from the last six weeks through the next three months.
- On the calendar, click Subscribe at the top of the page, next to Create.
- A window opens with your calendar link. Then add it to your calendar app:
- Google Calendar: click Add to Google Calendar and confirm in the tab that opens. Or, in Google Calendar, click + next to Other calendars, choose From URL, paste the link (click Copy first), and click Add calendar.
- Outlook: click Copy. In Outlook, choose Add calendar → Subscribe from web, paste the link, give it a name, and click Import.
- Apple Calendar: click Open in calendar app and confirm. Or choose File → New Calendar Subscription, paste the link, and click Subscribe.
- Click Close.
Your calendar app checks AECPulse for changes on its own schedule, and how often depends on the app. It can take several hours, especially in Google Calendar and Outlook, so new items may not appear right away.
The link stays the same every time you open Subscribe, and the window shows when your calendar app last checked it. Keep the link private: anyone who has it can see your calendar. If you think someone else has it, contact support and we’ll replace it.