
Run and Export a Report
Note: The exact reports available to you depend on your firm’s configuration and your role’s permissions. You may see more or fewer reports than listed here.
Before you start: Viewing reports requires report access. If you can’t see the Reports section in the sidebar, your role doesn’t include this permission. See Roles and access.
Opening the Reports area
Section titled “Opening the Reports area”In the sidebar, click Reports under the Firm section.
Choosing a report
Section titled “Choosing a report”- Reports are shown as cards, organized by category: Projects, Financials, Team, Schedule, and Risk.
- Each card shows the report’s name and a short description of what it does.
- Find the report you want and click Open Report on its card. This takes you to the report’s own page, where you can fill in any inputs it needs and run it.
Filling in report inputs
Section titled “Filling in report inputs”Many reports ask for inputs before they can run — for example:
- A date (start and end dates come through as two separate inputs)
- A specific project or team member
- A number or currency amount
Every input a report asks for is required — each one is marked with a red asterisk, and the Run button stays greyed out until they’re all filled in.
Running the report
Section titled “Running the report”Click Run. The results appear in a table below.
Reading the results
Section titled “Reading the results”The table shows the data for the report, with column headings explaining what each column contains. Click a column heading to sort by it, and use the pager at the bottom to move through the results — 25 rows at a time, or 50 or 100 if you prefer.
Exporting the results
Section titled “Exporting the results”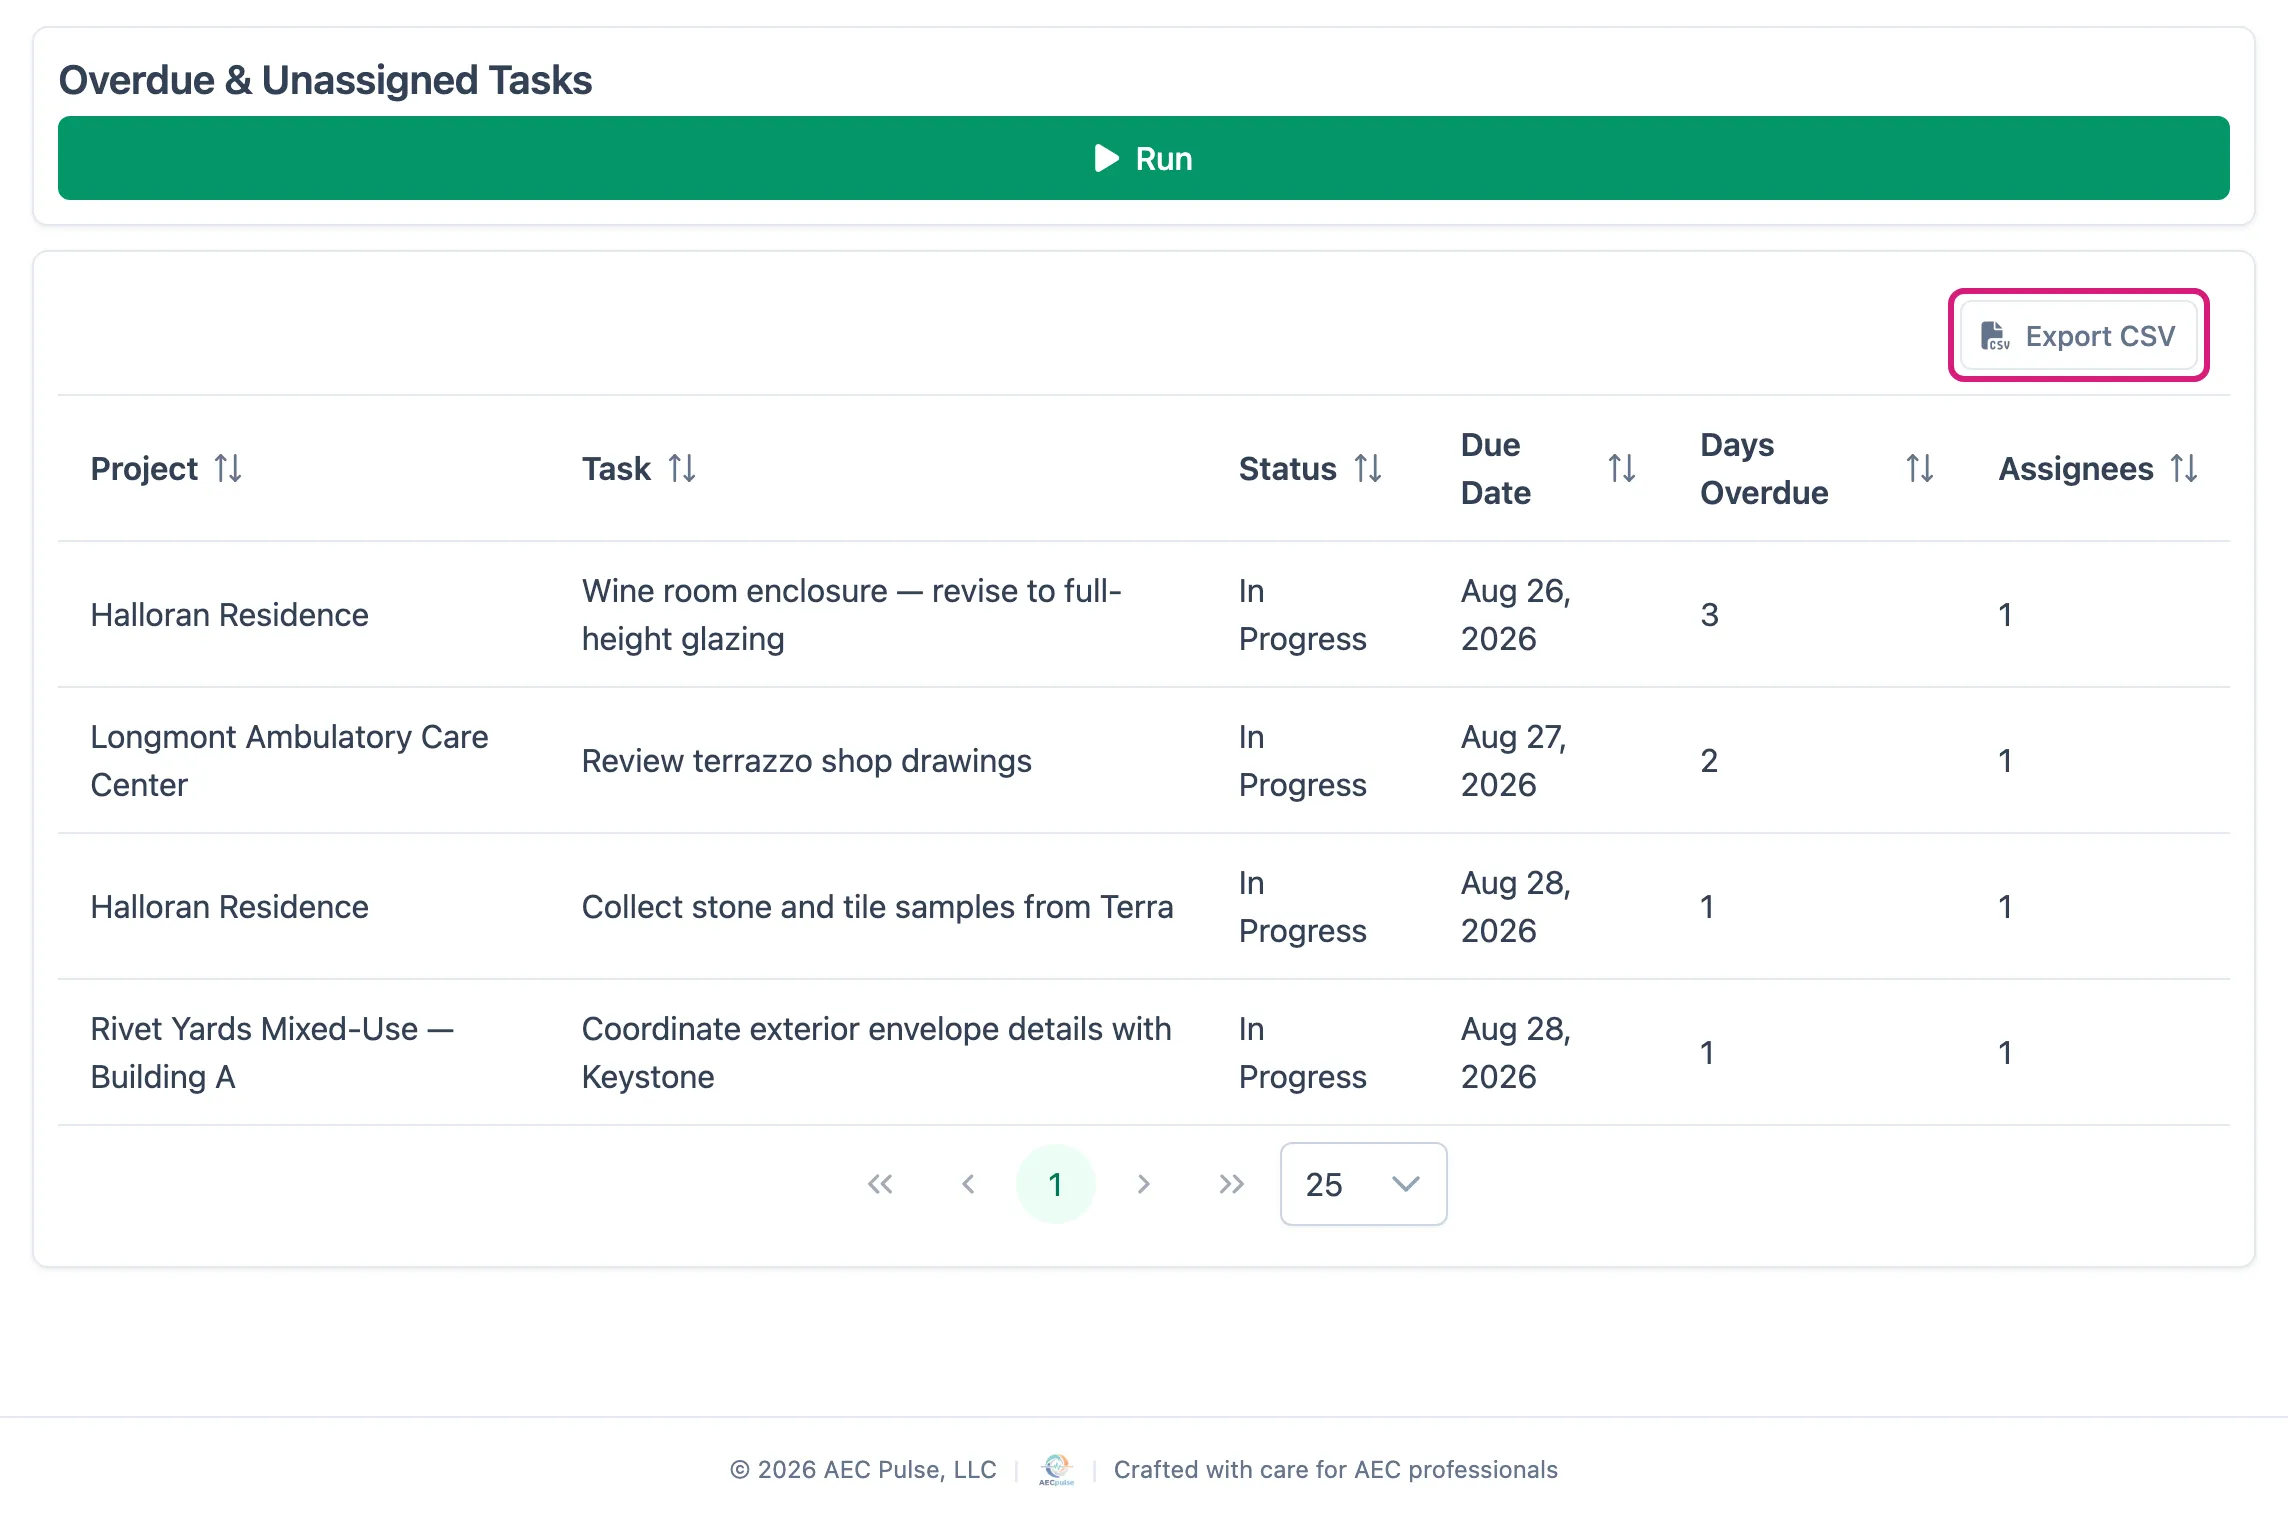
- After the report has run, click Export CSV at the top right of the results table. It’s greyed out if the report returned no rows.
- The file downloads named after the report.
- Open it in your spreadsheet application.