
Add an FF&E item
Before you start: adding and editing FF&E items depends on your role. If you can browse the categories but see no Create item button, your role is view-only — see Roles & access.
Create an item
Section titled “Create an item”- In the sidebar, open Libraries → FF&E. The category tree opens.
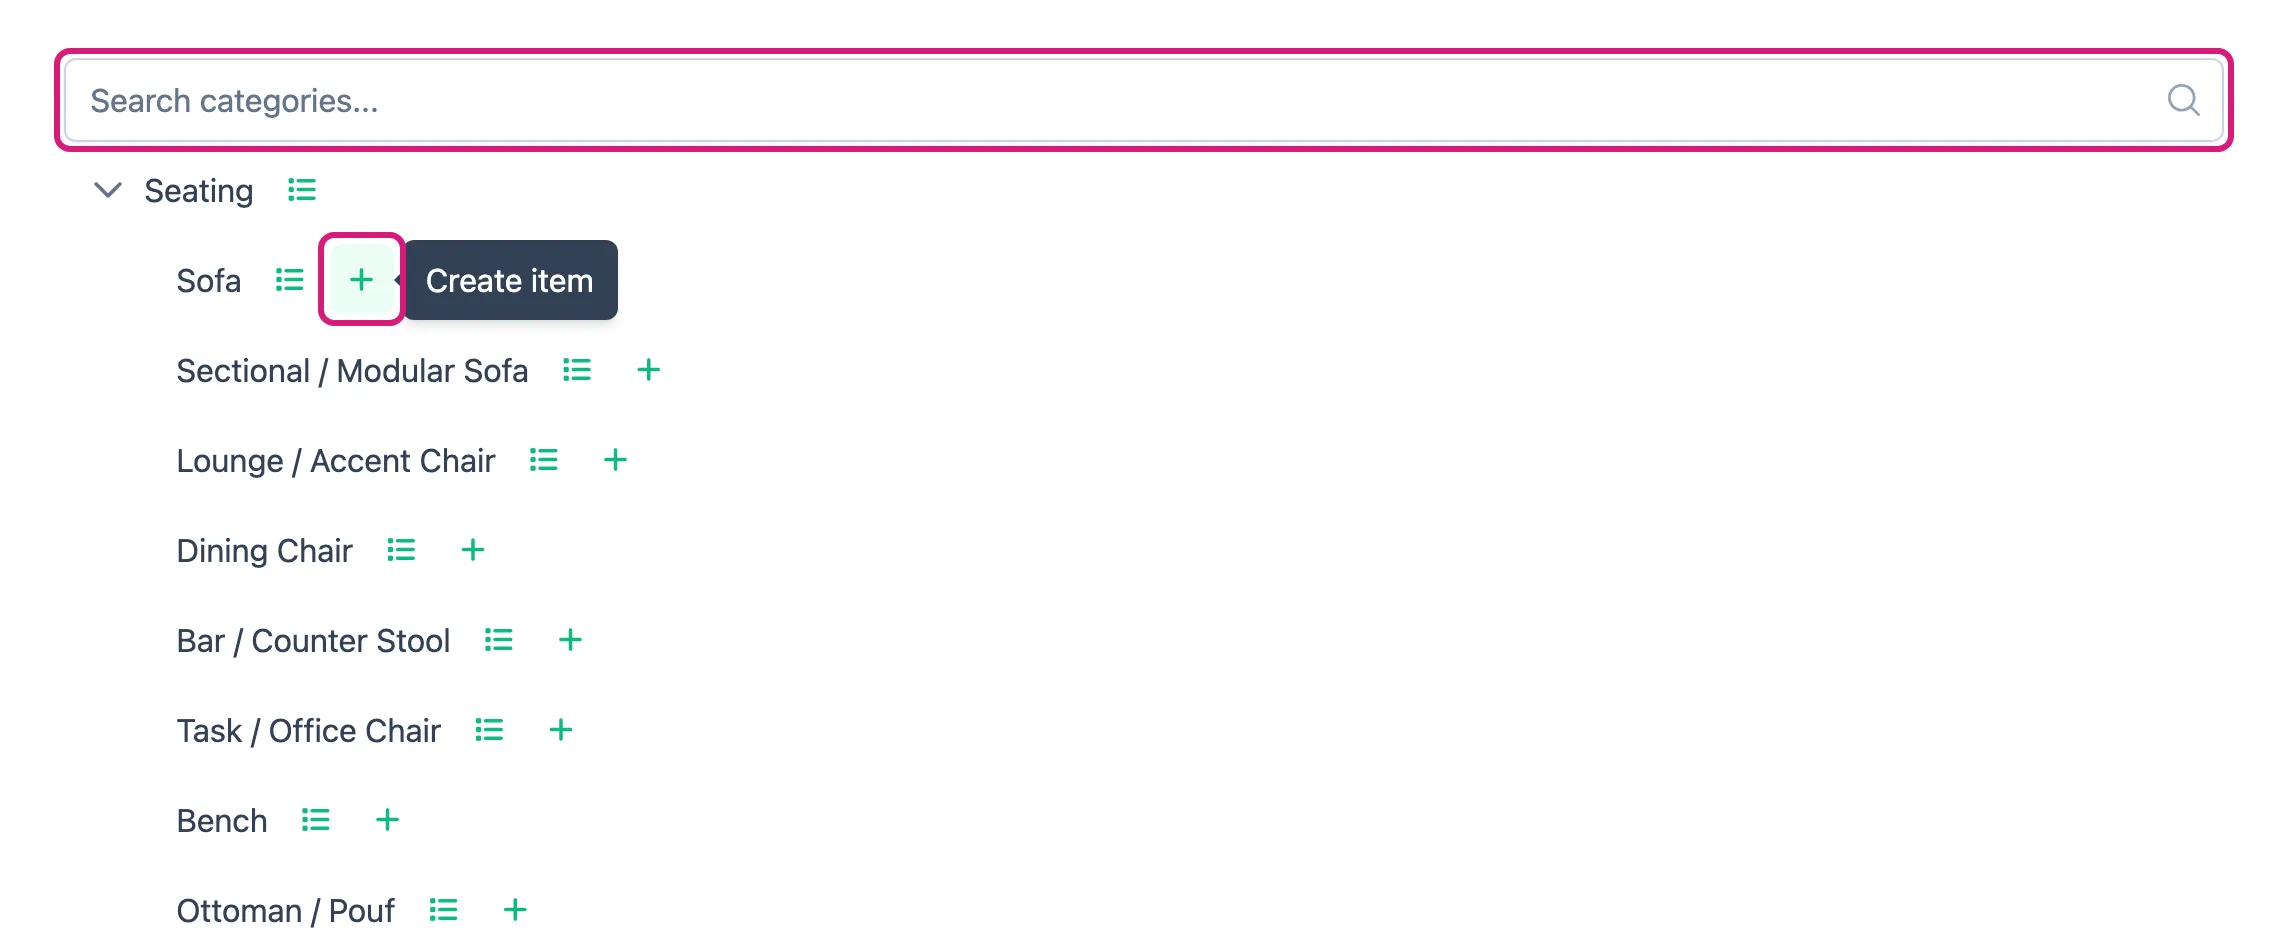
- Find the category the item belongs to — expand a parent category, or type its name in the search box — and click Create item beside it. (You can also click the category’s name to see its items, then click Create Item above the list.)
 3. Enter the Name — what the item is called on schedules and purchase orders.
4. Enter the Model # if the manufacturer gives one.
5. The Parent Category and Category are already set to the one you started from. Change them here if you started in the wrong place.
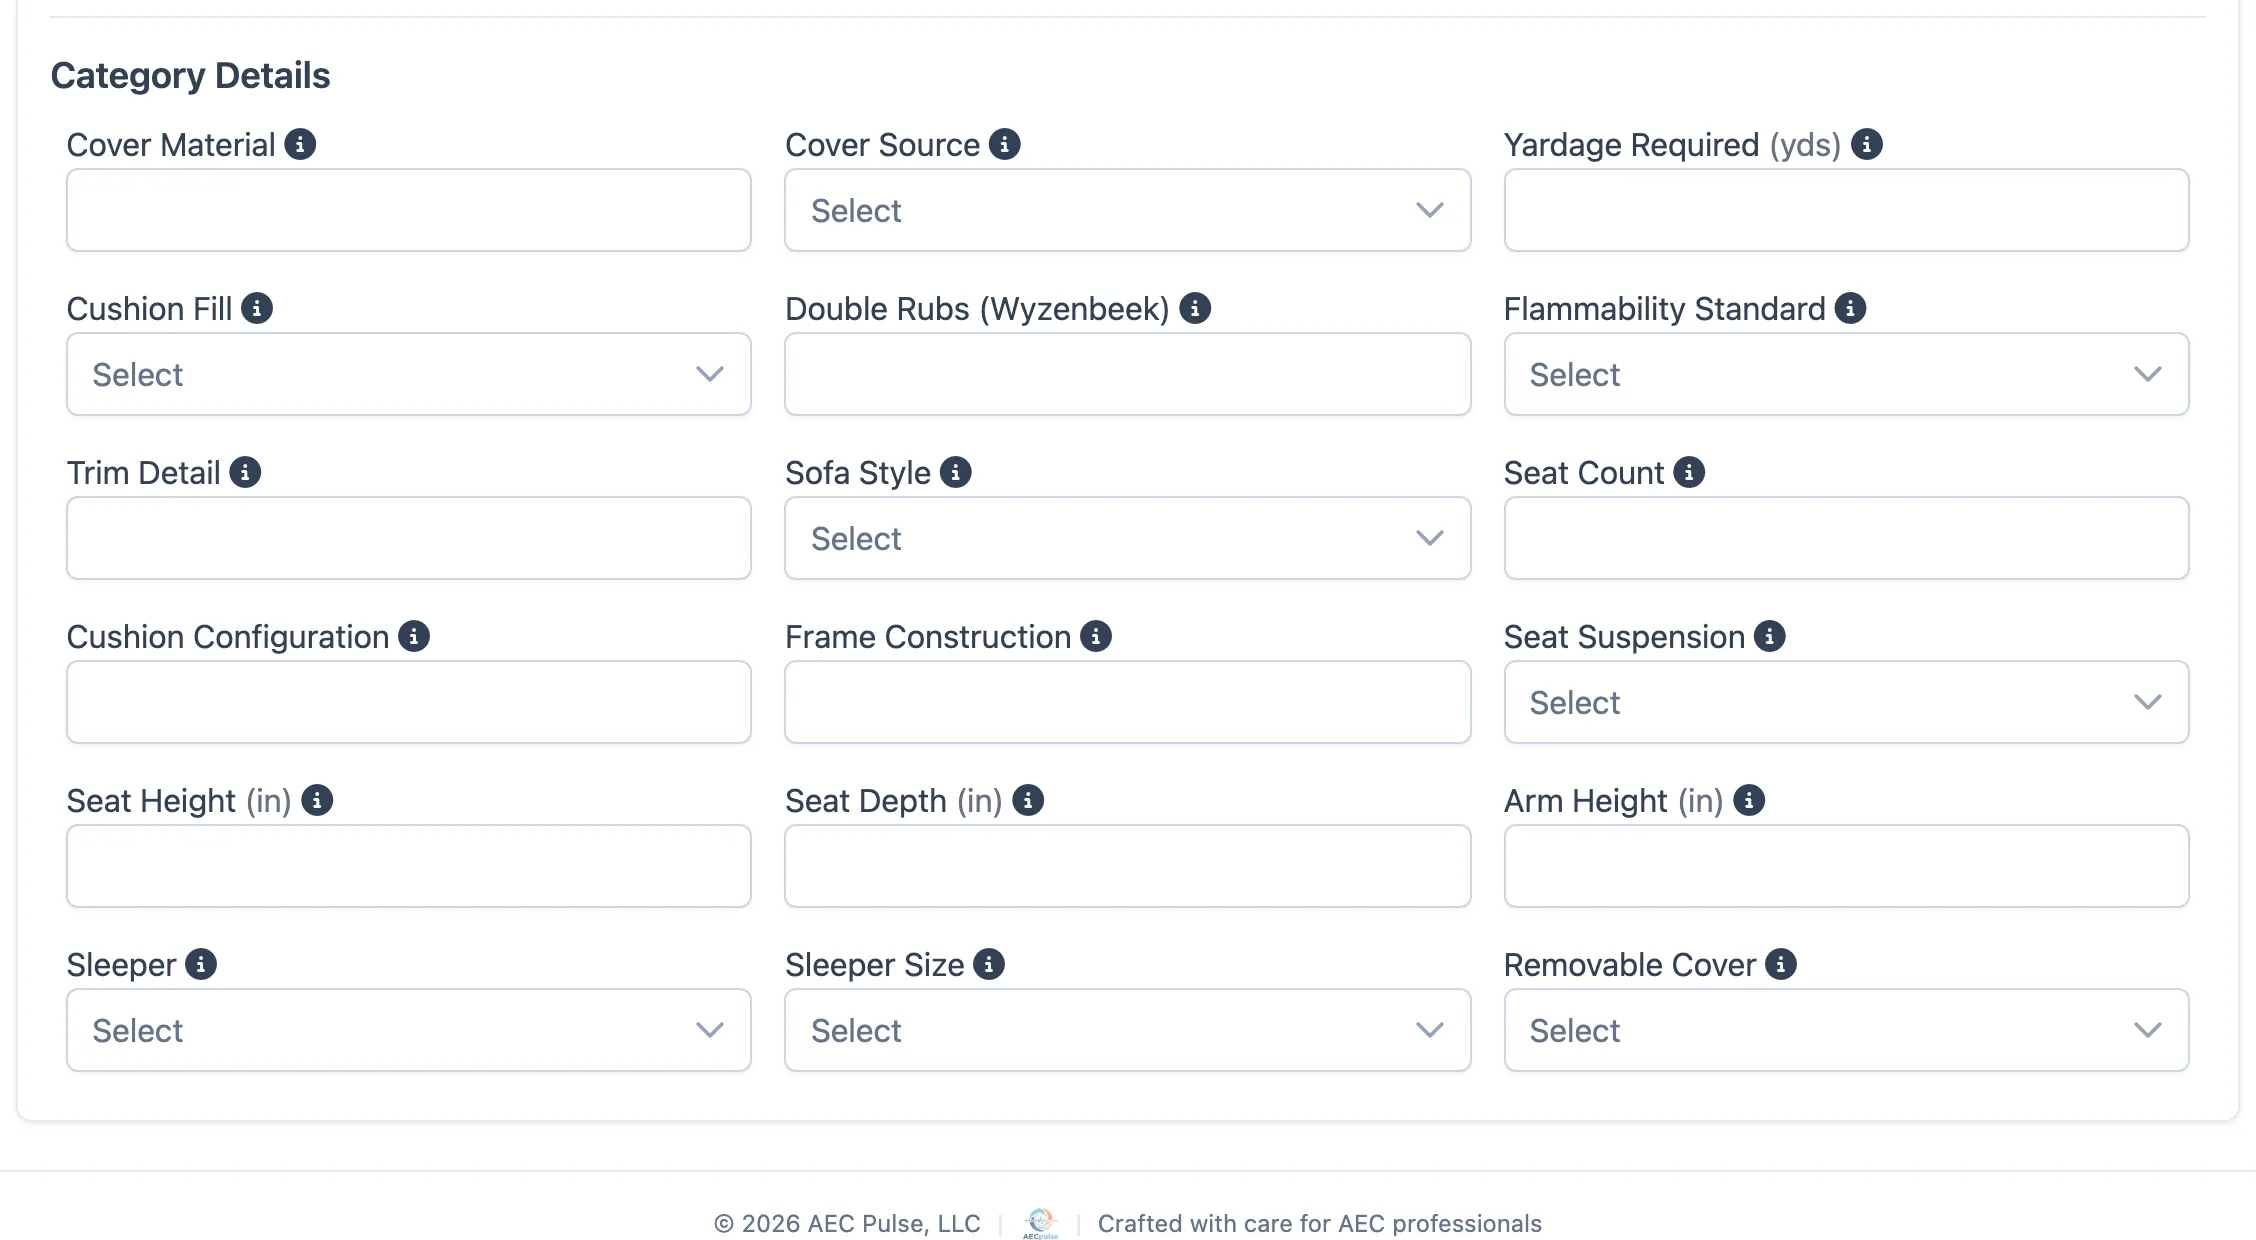
6. A Category Details section at the bottom of the form holds the fields that category needs. Fill in the ones you know — none of them are required, so you can come back later.
3. Enter the Name — what the item is called on schedules and purchase orders.
4. Enter the Model # if the manufacturer gives one.
5. The Parent Category and Category are already set to the one you started from. Change them here if you started in the wrong place.
6. A Category Details section at the bottom of the form holds the fields that category needs. Fill in the ones you know — none of them are required, so you can come back later.
 7. Add a Description and an Image if you have one. The image is what the card shows.
8. Fill in Sourcing: vendor, manufacturer, product page link, lead time, and the purchasing unit.
9. Fill in Pricing: cost and sell price.
10. Fill in Dimensions & Materials: width, depth, and height in inches, weight in pounds, the primary material, and the finish.
11. Click Create Item.
7. Add a Description and an Image if you have one. The image is what the card shows.
8. Fill in Sourcing: vendor, manufacturer, product page link, lead time, and the purchasing unit.
9. Fill in Pricing: cost and sell price.
10. Fill in Dimensions & Materials: width, depth, and height in inches, weight in pounds, the primary material, and the finish.
11. Click Create Item.
You land on the item’s page, where everything you entered is shown together. Below that, three tabs carry the rest: Extra Details for the category’s own fields, Notes for anything that does not fit a field, and Files for tear sheets, spec PDFs, and extra photos.
About the finish
Section titled “About the finish”Finish is free text on purpose. A finish is usually a vendor’s own code plus a description — American Walnut, Matte, AW-03 — and vague finish descriptions are one of the most common causes of the wrong item being delivered. Write out what the vendor calls it rather than shortening it.
Edit an item
Section titled “Edit an item”- Open the item from its category’s list.
- Click Edit.
- Change what you need and click Save Item.
Changing the category
Section titled “Changing the category”Changing the category also changes which extra fields the item has.
- On the edit form, pick a different Category.
- Any value the new category also asks for is carried over automatically.
- If some values have nowhere to go, a message lists them by name and asks you to confirm. Choose Continue to change the category and clear those values, or Cancel to keep the item as it was.
- Click Save Item.
Delete an item
Section titled “Delete an item”- Open the item from its category’s list.
- Click Delete and confirm.
An item that is already scheduled into a project room can’t be deleted — you’ll be told which is the case. Remove it from the room first.